
Tuesday, January 21st @ noon Eastern.
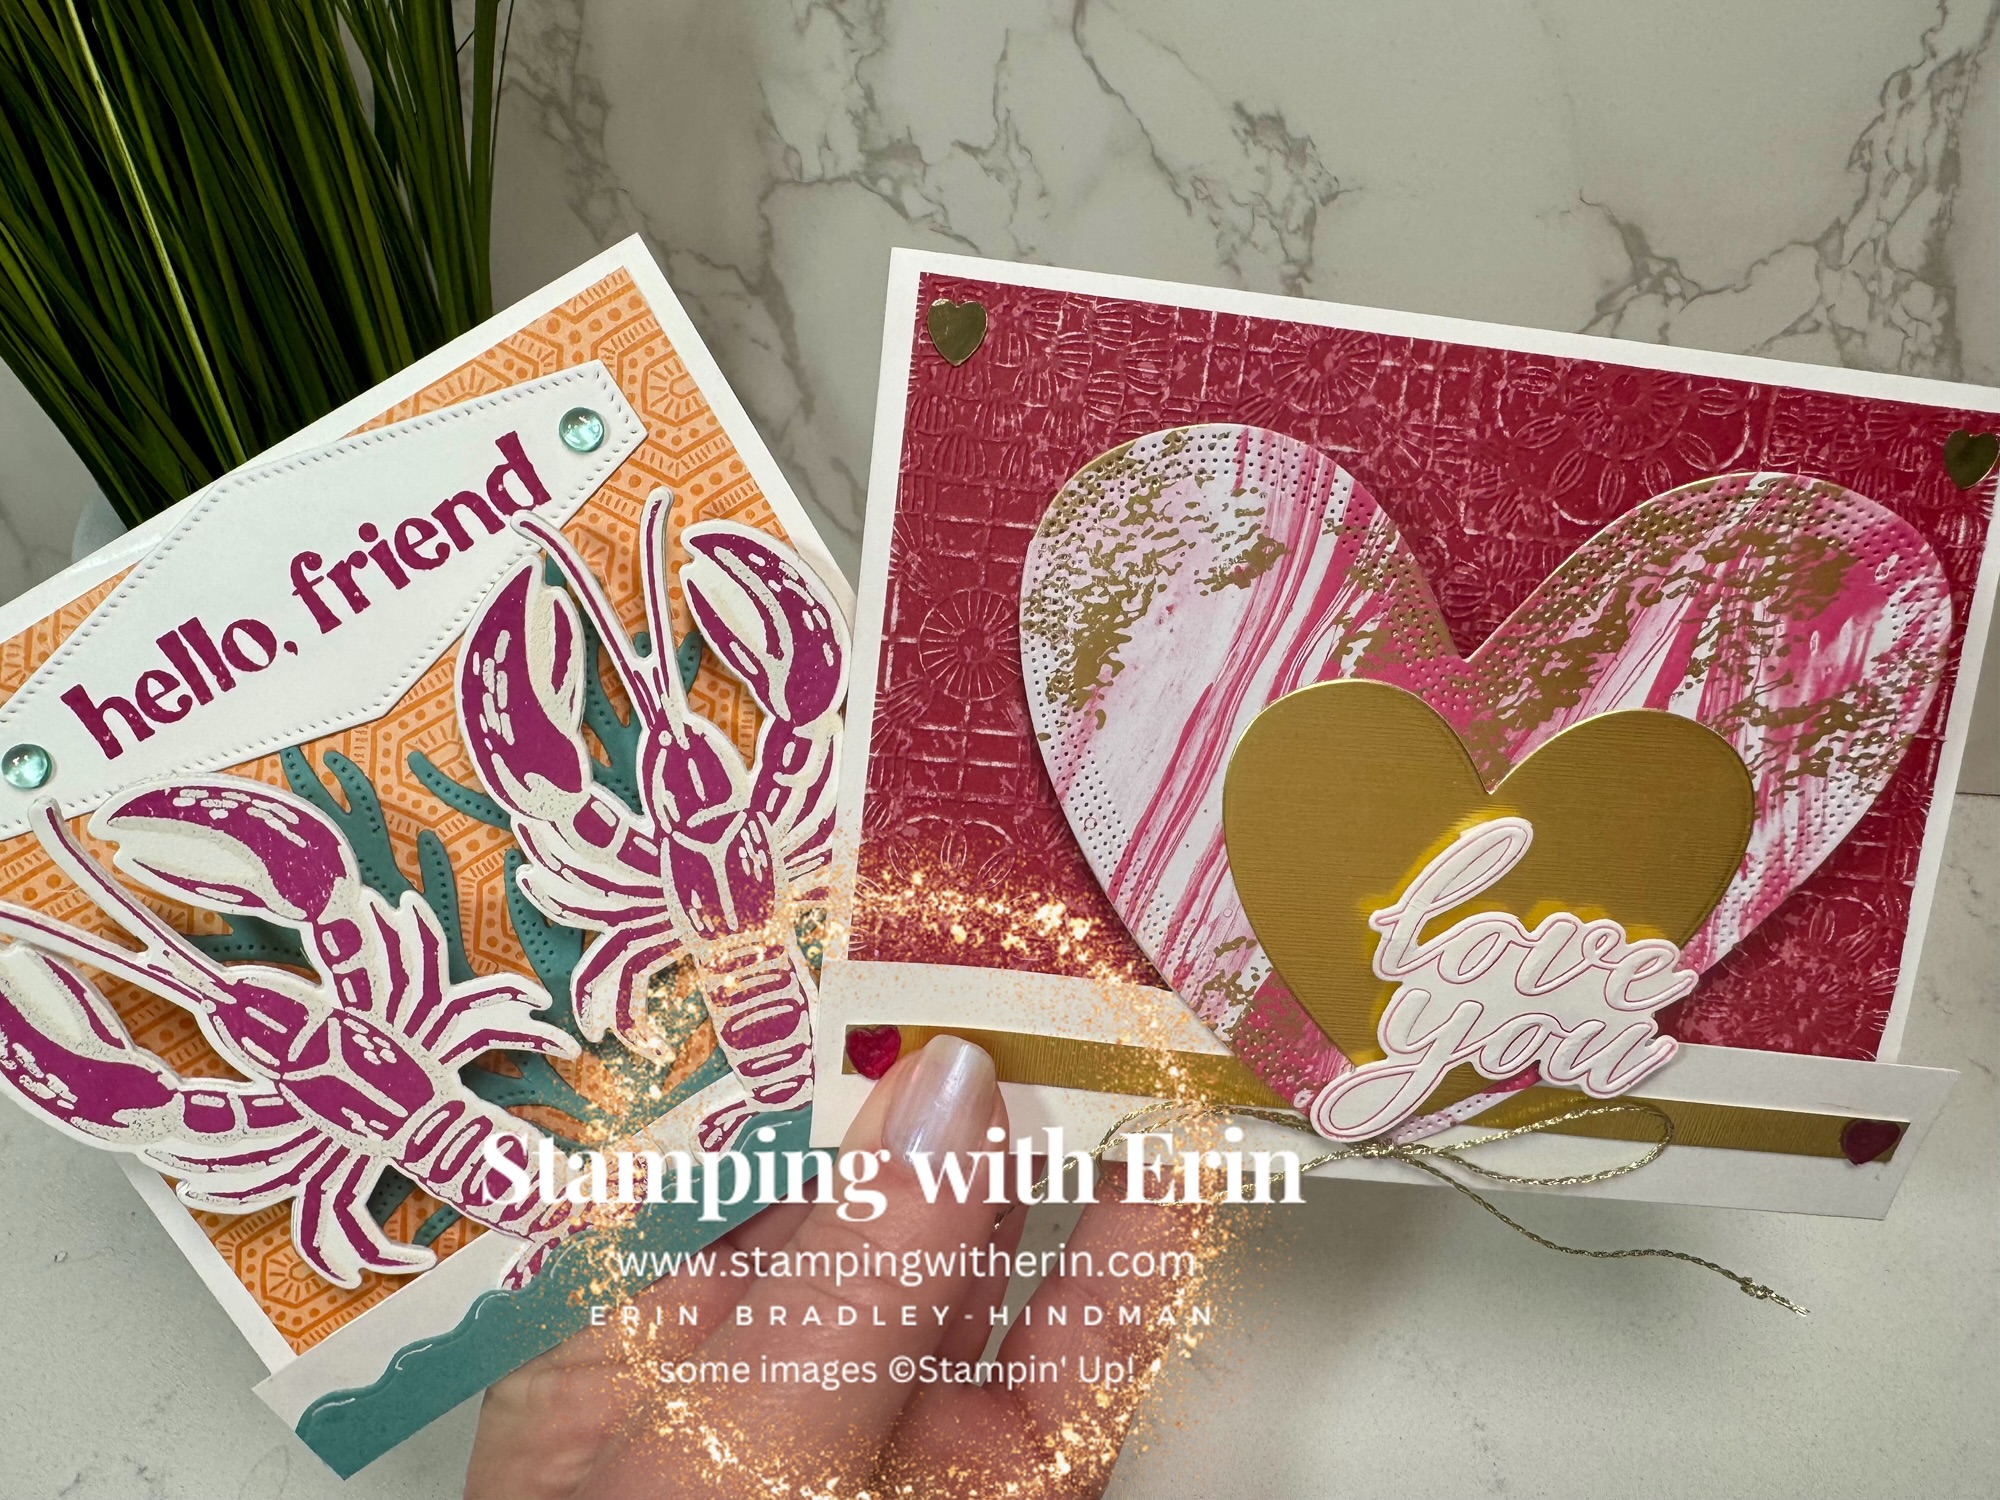
These are two double folded cards. I’ve done many cards with this technique, but the sizes of these are different.
Here’s a video showing them:
Hope to see you there!


Tuesday, January 21st @ noon Eastern.
These are two double folded cards. I’ve done many cards with this technique, but the sizes of these are different.
Here’s a video showing them:
Hope to see you there!
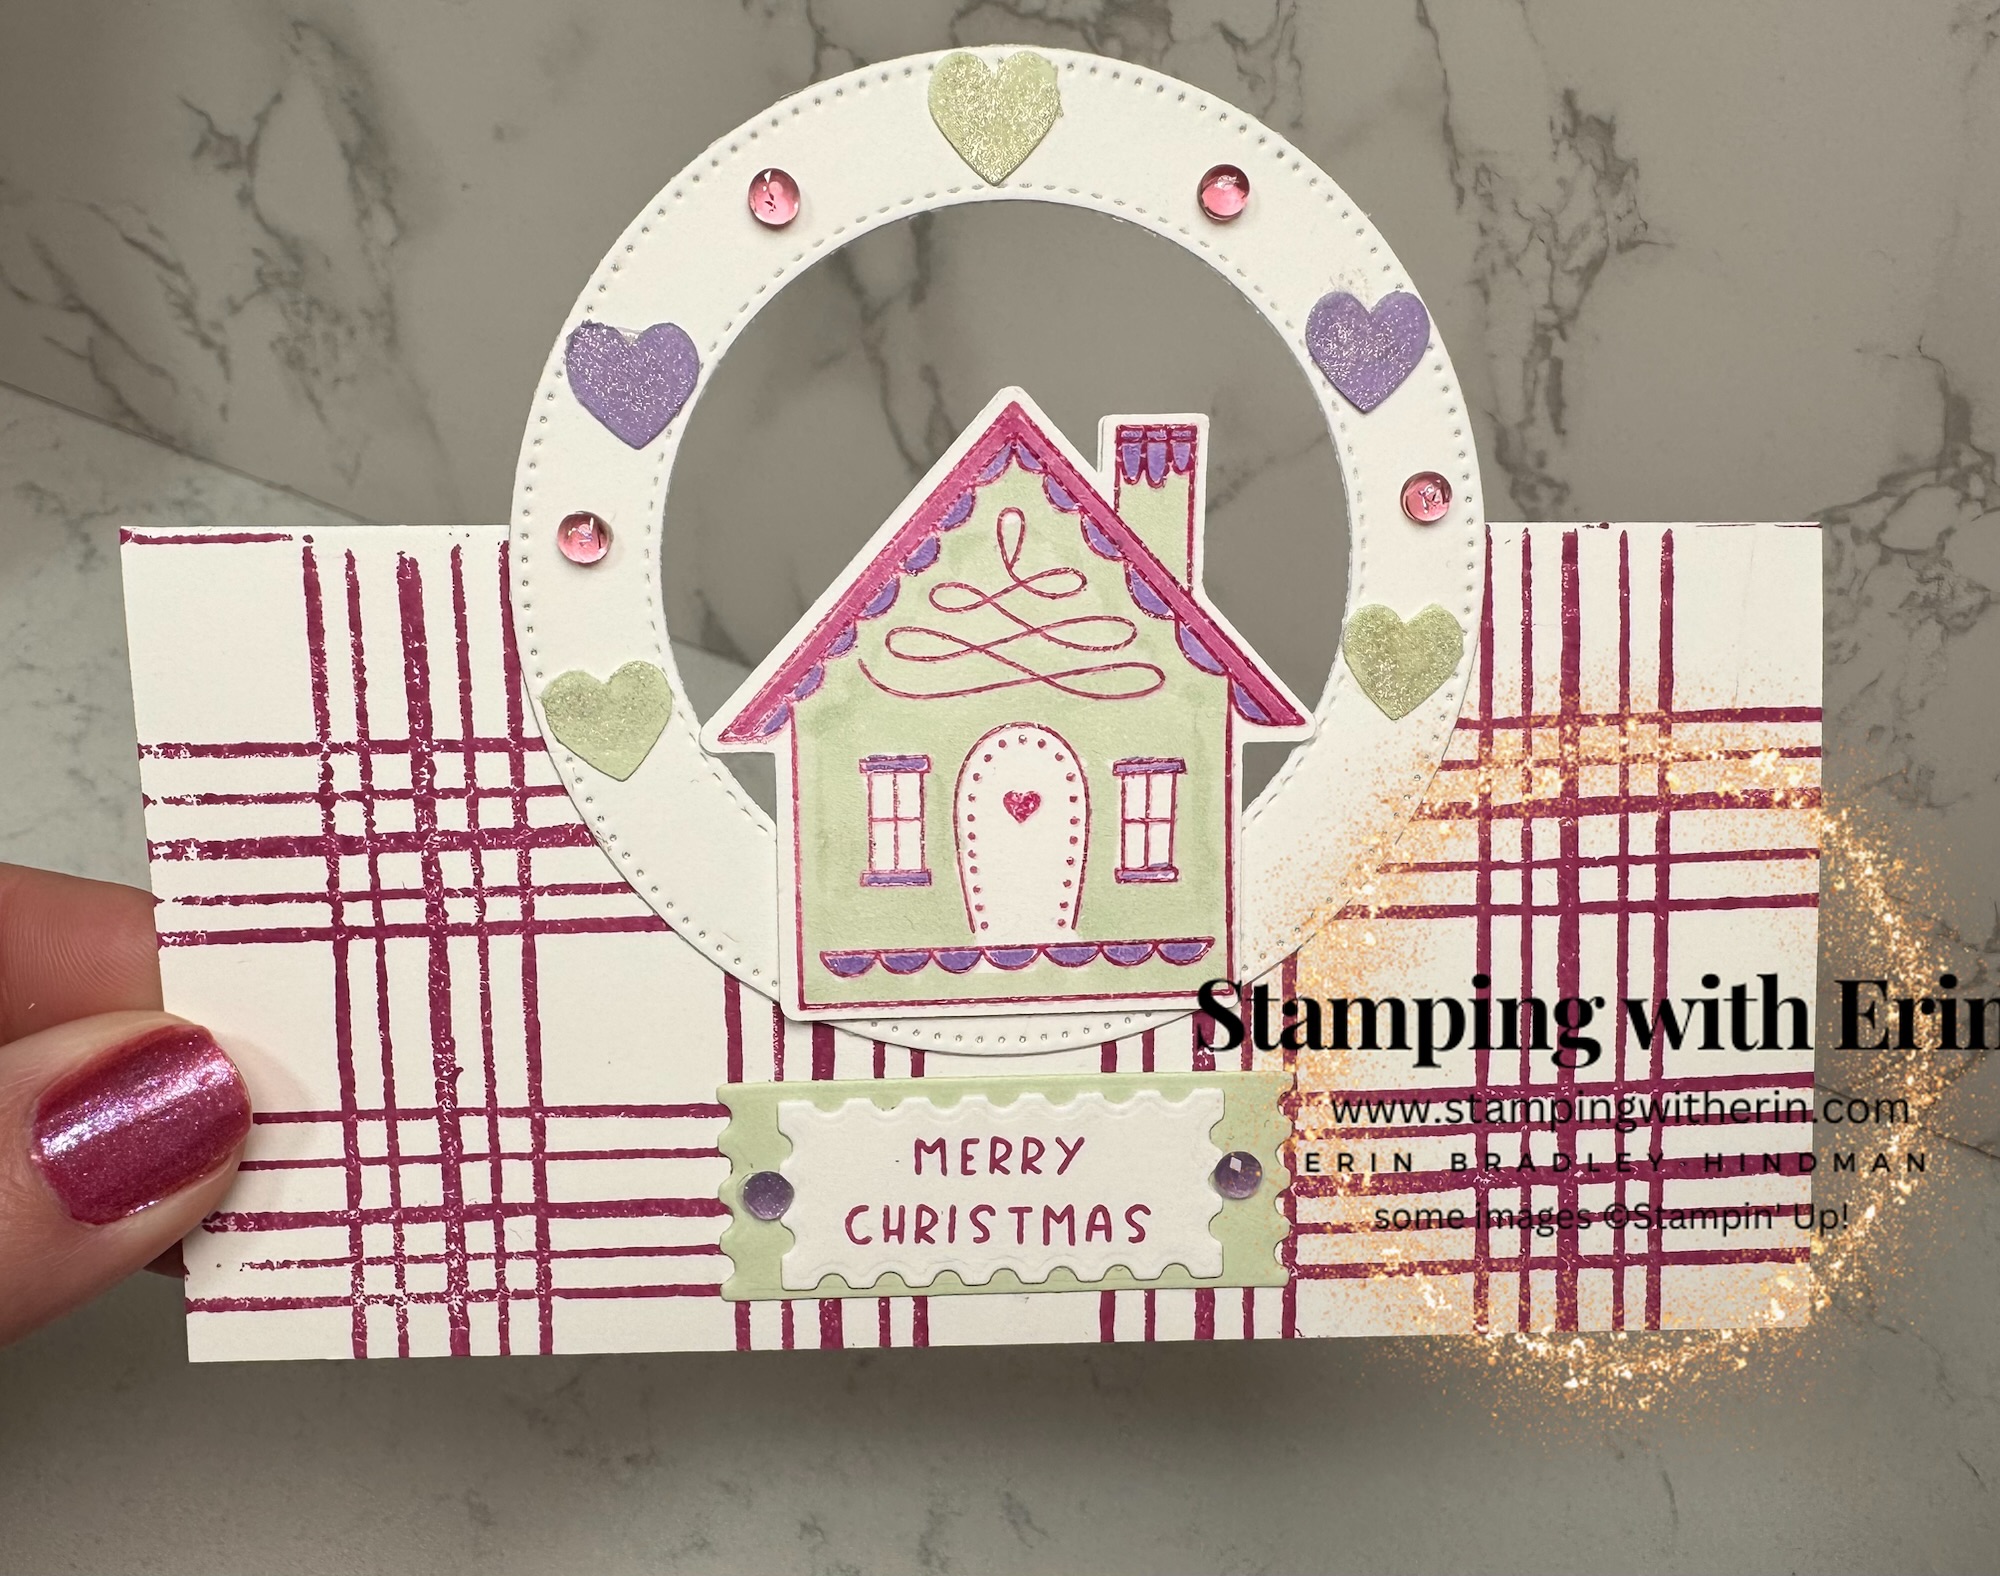
Another circle wreath card- a different size! Don’t forget on 1/7/25 I’ll be live on FB showing how to make these wreath cards!
I stamped the home with Berry Burst first (using a Misti) then stamped again with Versamark. Makes it easier to color with Blends.
I punched several hearts with the Humble Home punch. I used Soft Sea Foam and Highland Heather cardstock and added some Wink of Stella on top.
I stamped the Sketched Plaid on the front of the card with Berry Burst.
Humble Home is not retiring! Now is the time to get it with the 10% Bundle discount!
Product List

This is a different size than the usual circle wreath cards. On my next FB Live (not until 1/7/2025) I’ll make a card this size and another size. I’ll share more cards that I’ve made before the Live.
This beautiful suite (Nests of Winter) is retiring, but only as a suite. All the products are carrying over! I always list the products in my posts first as a suite or bundle, then everything separately. Bundles and suites retire even though none of the individual products retire. So, if you click on the bundle or suite and it doesn’t link to anything, try the individual products.
Hope everyone is having a wonderful Christmas time!
Product List

I wanted the snowman to be on the beach. I stamped him on basic white with Memento, and stamped him again on Masking Paper. I fussy cut the Masking Paper and placed over the stamped image on Basic White. Using Blending Brushes, I colored the background with Crumb Cake, Lemon Lolly and Azure Afternoon. I added some Embossing Paste to make it look like waves.
To see how I made the background with crayons, here’s my video:
I removed the Masking Paper and colored my snowman with Blends. I then die cut with the Deckled Circles.
For the Azure Afternoon frame, I cut a piece 4″ x 5-1/4″. I cut the middle out leaving 1/4″ on each side.
Product List

I showed this card during my last FB Live. I loved how it came out- looks like graffiti!
I fussy cut the Santa after stamping with Memento. I colored him with Medium Deep, Poppy Parade, Azure Afternoon and Lemon Lime Twist Blends.
For the sand, I die cut a piece of Crumb Cake with one of the Beach Days dies. I stamped on it using one of the Surfing Santa stamps and Pecan Pie ink.
I colored the background with Azure Afternoon and a Blending Brush. I then stamped the Surfing Santa wave stamp several times with Azure on top.
I then added some Glitter Crayons on the background. You can see my video here:
You can look at my “must haves for crafting” on the top menu to see the products I used for the crayons.
Product List

Have you ever used crayons on your cards? Here I show you how to make these three cards and I show several more cards!
Well, yesterday was a bit crazy and affected my live video. I had it on mute the whole time! I did a VoiceOver and put it on YouTube:


For the products I used non-SU:
Product List
We will make two cards similar to the one showed, in different colors!
Click on the picture and it will take you to my Facebook page:


Here’s the cards we made in today’s FB Live!
Here’s the video:

Here’s the supplies for the snow card. I also have links to non-SU items:
Product List


Here’s the church without snow!

Product List
THIS PAGE CONTAINS AFFILIATE LINKS. IF YOU CLICK ANY OF THE AFFILIATE LINKS AND PURCHASE A PRODUCT, I MAY EARN A COMMISSION BUT DON’T WORRY, THERE IS NO COST TO YOU! READ MORE ABOUT MY AFFILIATE DISCLOSURE BY CLICKING HERE.

If you click on the picture, it will take you to my Facebook page.
See you tomorrow!
")
")


")
")
")
")


")
")


 Trim Combo Pack")


")


")
")
")


 Specialty Designer Series Paper")


 Glittered Ribbon")
 Striped Trim")


")
")
")


 Specialty Paper")
 Designer Series Paper")
