I bought the online Simply Sparkling bundle a few months ago and never used it! It’s still available as of right now. I have tons of ideas for it!
I stamped the can with Versamark on Real Red. Embossed with silver embossing powder. I die cut the top and bottom with Silver Foil. I also die cut the “bubbles” with Silver Foil. Use Adhesive Sheets for those!
For the background on both the Basic White and Crumb Cake, I used the new So Swirly embossing folder. I added some water on the edges of the Crumb Cake and turned up the corners and some other areas.
For the sentiment, I die cut with Basic White (use Adhesive Sheets). I then added a dot with the Dark Real Red Blend on the bottom. Then used the Light Real Red and then the Light Crumb Cake.
Measurements:
Basic White 4-1/4″ x 11″ Scored at 5-1/2″
Crumb Cake 4-1/8″ x 5-3/8″
Basic White 5″ x 3-1/4″
Scraps of Basic White, Real Red and Silver Foil
As of today, I have about 200 things for sale on eBay. Some Buy It Now, some auctions. You can get the link to my eBay store under “shop” at the top (computer) or under the menu (phone). Over 100 of those things just retired!
Product List

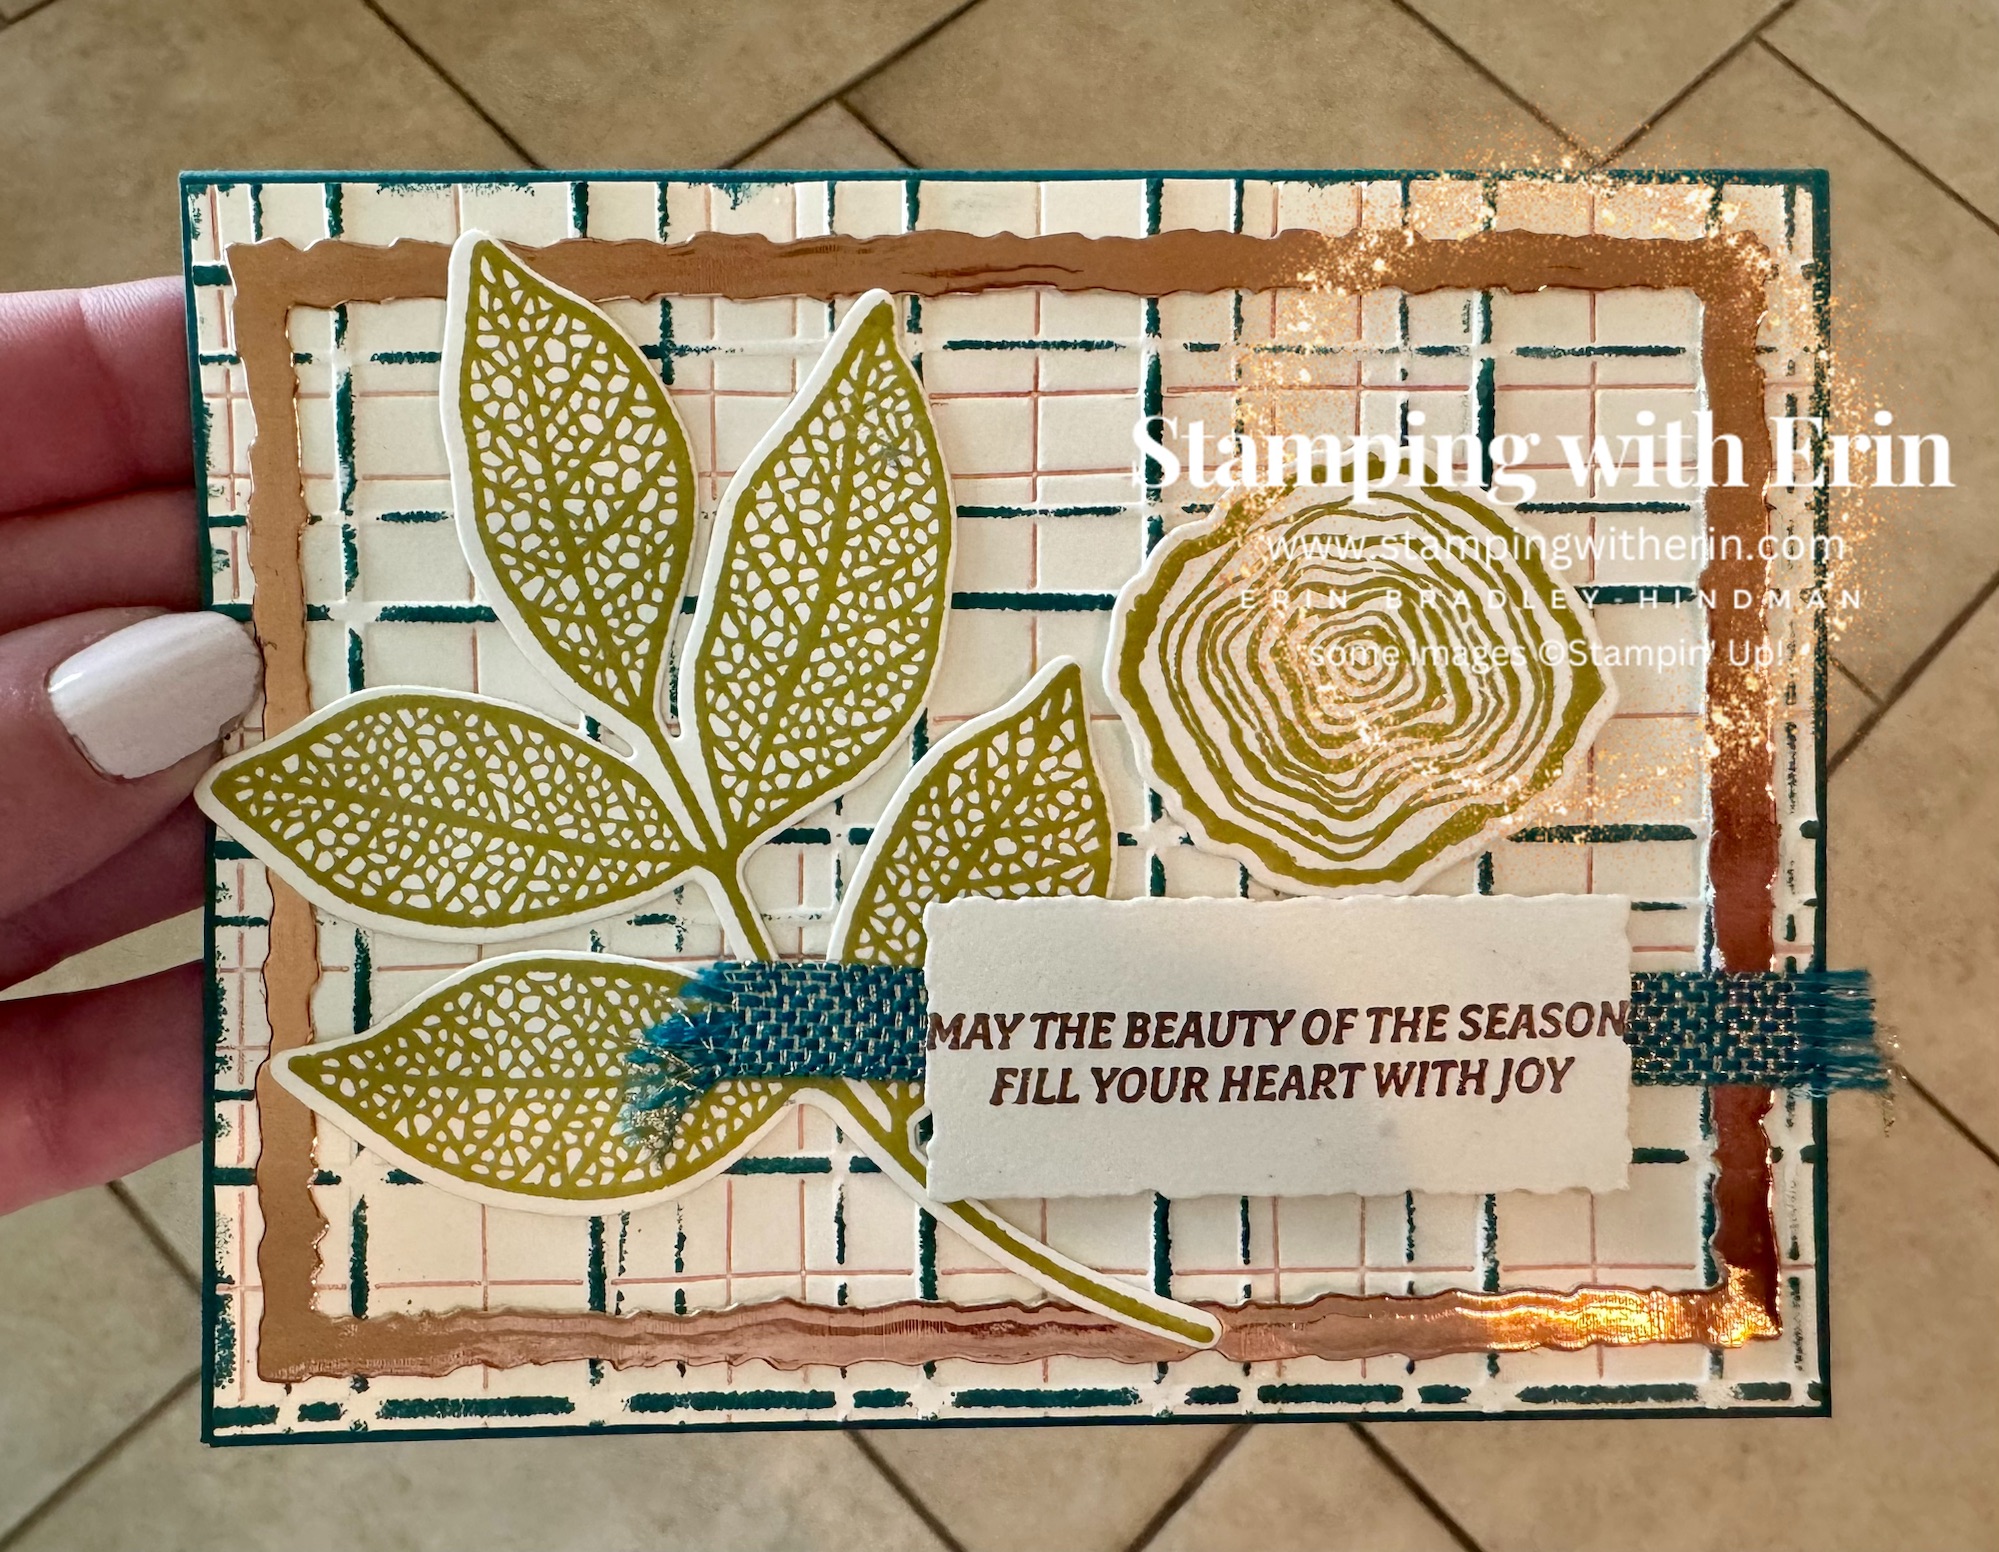

![Changing Leaves Bundle (English) [ 164139 ]](https://i0.wp.com/assets1.tamsnetwork.com/images/EC042017NF/164139s.jpg?w=120&ssl=1 "Changing Leaves Bundle (English) [ 164139 ]")
![Autumn Expressions Bundle (English) [ 164056 ]](https://i0.wp.com/assets1.tamsnetwork.com/images/EC042017NF/164056s.jpg?w=120&ssl=1 "Autumn Expressions Bundle (English) [ 164056 ]")
![Changing Leaves Photopolymer Stamp Set (English) [ 164351 ]](https://i0.wp.com/assets1.tamsnetwork.com/images/EC042017NF/164351s.jpg?w=120&ssl=1 "Changing Leaves Photopolymer Stamp Set (English) [ 164351 ]")
![Autumn Expressions Cling Stamp Set (English) [ 164174 ]](https://i0.wp.com/assets1.tamsnetwork.com/images/EC042017NF/164174s.jpg?w=120&ssl=1 "Autumn Expressions Cling Stamp Set (English) [ 164174 ]")
![Changing Leaves Hybrid Embossing Folder [ 164138 ]](https://i0.wp.com/assets1.tamsnetwork.com/images/EC042017NF/164138s.jpg?w=120&ssl=1 "Changing Leaves Hybrid Embossing Folder [ 164138 ]")
![Autumn Expressions Dies [ 164055 ]](https://i0.wp.com/assets1.tamsnetwork.com/images/EC042017NF/164055s.jpg?w=120&ssl=1 "Autumn Expressions Dies [ 164055 ]")
![Deckled Rectangles Dies [ 159173 ]](https://i0.wp.com/assets1.tamsnetwork.com/images/EC042017NF/159173s.jpg?w=120&ssl=1 "Deckled Rectangles Dies [ 159173 ]")
![Very Vanilla 8-1/2" X 11" Cardstock [ 101650 ]](https://i0.wp.com/assets1.tamsnetwork.com/images/EC042017NF/101650s.jpg?w=120&ssl=1 "Very Vanilla 8-1/2\" X 11\" Cardstock [ 101650 ]")
![Pretty Peacock 8-1/2" X 11" Cardstock [ 150880 ]](https://i0.wp.com/assets1.tamsnetwork.com/images/EC042017NF/150880s.jpg?w=120&ssl=1 "Pretty Peacock 8-1/2\" X 11\" Cardstock [ 150880 ]")
![Textured Metallic 12" X 12" (30.5 X 30.5 Cm) Specialty Paper [ 163772 ]](https://i0.wp.com/assets1.tamsnetwork.com/images/EC042017NF/163772s.jpg?w=120&ssl=1 "Textured Metallic 12\" X 12\" (30.5 X 30.5 Cm) Specialty Paper [ 163772 ]")
![Cajun Craze Classic Stampin' Pad [ 147085 ]](https://i0.wp.com/assets1.tamsnetwork.com/images/EC042017NF/147085s.jpg?w=120&ssl=1 "Cajun Craze Classic Stampin' Pad [ 147085 ]")
![Pretty Peacock Classic Stampin’ Pad [ 150083 ]](https://i0.wp.com/assets1.tamsnetwork.com/images/EC042017NF/150083s.jpg?w=120&ssl=1 "Pretty Peacock Classic Stampin’ Pad [ 150083 ]")
![Wild Wheat Classic Stampin' Pad [ 161651 ]](https://i0.wp.com/assets1.tamsnetwork.com/images/EC042017NF/161651s.jpg?w=120&ssl=1 "Wild Wheat Classic Stampin' Pad [ 161651 ]")
![Versamark Pad [ 102283 ]](https://i0.wp.com/assets1.tamsnetwork.com/images/EC042017NF/102283s.jpg?w=120&ssl=1 "Versamark Pad [ 102283 ]")
![Metallics Wow! Embossing Powder [ 165678 ]](https://i0.wp.com/assets1.tamsnetwork.com/images/EC042017NF/165678s.jpg?w=120&ssl=1 "Metallics Wow! Embossing Powder [ 165678 ]")
![Pretty Peacock & Gold 3/8" (1 Cm) Metallic Ribbon [ 162588 ]](https://i0.wp.com/assets1.tamsnetwork.com/images/EC042017NF/162588s.jpg?w=120&ssl=1 "Pretty Peacock & Gold 3/8\" (1 Cm) Metallic Ribbon [ 162588 ]")
![Forever Plaid 3 D Embossing Folder [ 164049 ]](https://i0.wp.com/assets1.tamsnetwork.com/images/EC042017NF/164049s.jpg?w=120&ssl=1 "Forever Plaid 3 D Embossing Folder [ 164049 ]")
![Stampin' Brayer [ 162936 ]](https://i0.wp.com/assets1.tamsnetwork.com/images/EC042017NF/162936s.jpg?w=120&ssl=1 "Stampin' Brayer [ 162936 ]")
![Multipurpose Liquid Glue [ 110755 ]](https://i0.wp.com/assets1.tamsnetwork.com/images/EC042017NF/110755s.jpg?w=120&ssl=1 "Multipurpose Liquid Glue [ 110755 ]")
![Paper Trimmer [ 152392 ]](https://i0.wp.com/assets1.tamsnetwork.com/images/EC042017NF/152392s.jpg?w=120&ssl=1 "Paper Trimmer [ 152392 ]")
![Stampin' Cut & Emboss Machine [ 149653 ]](https://i0.wp.com/assets1.tamsnetwork.com/images/EC042017NF/149653s.jpg?w=120&ssl=1 "Stampin' Cut & Emboss Machine [ 149653 ]")
![Heat Tool (Us And Canada) [ 129053 ]](https://i0.wp.com/assets1.tamsnetwork.com/images/EC042017NF/129053s.jpg?w=120&ssl=1 "Heat Tool (Us And Canada) [ 129053 ]")