

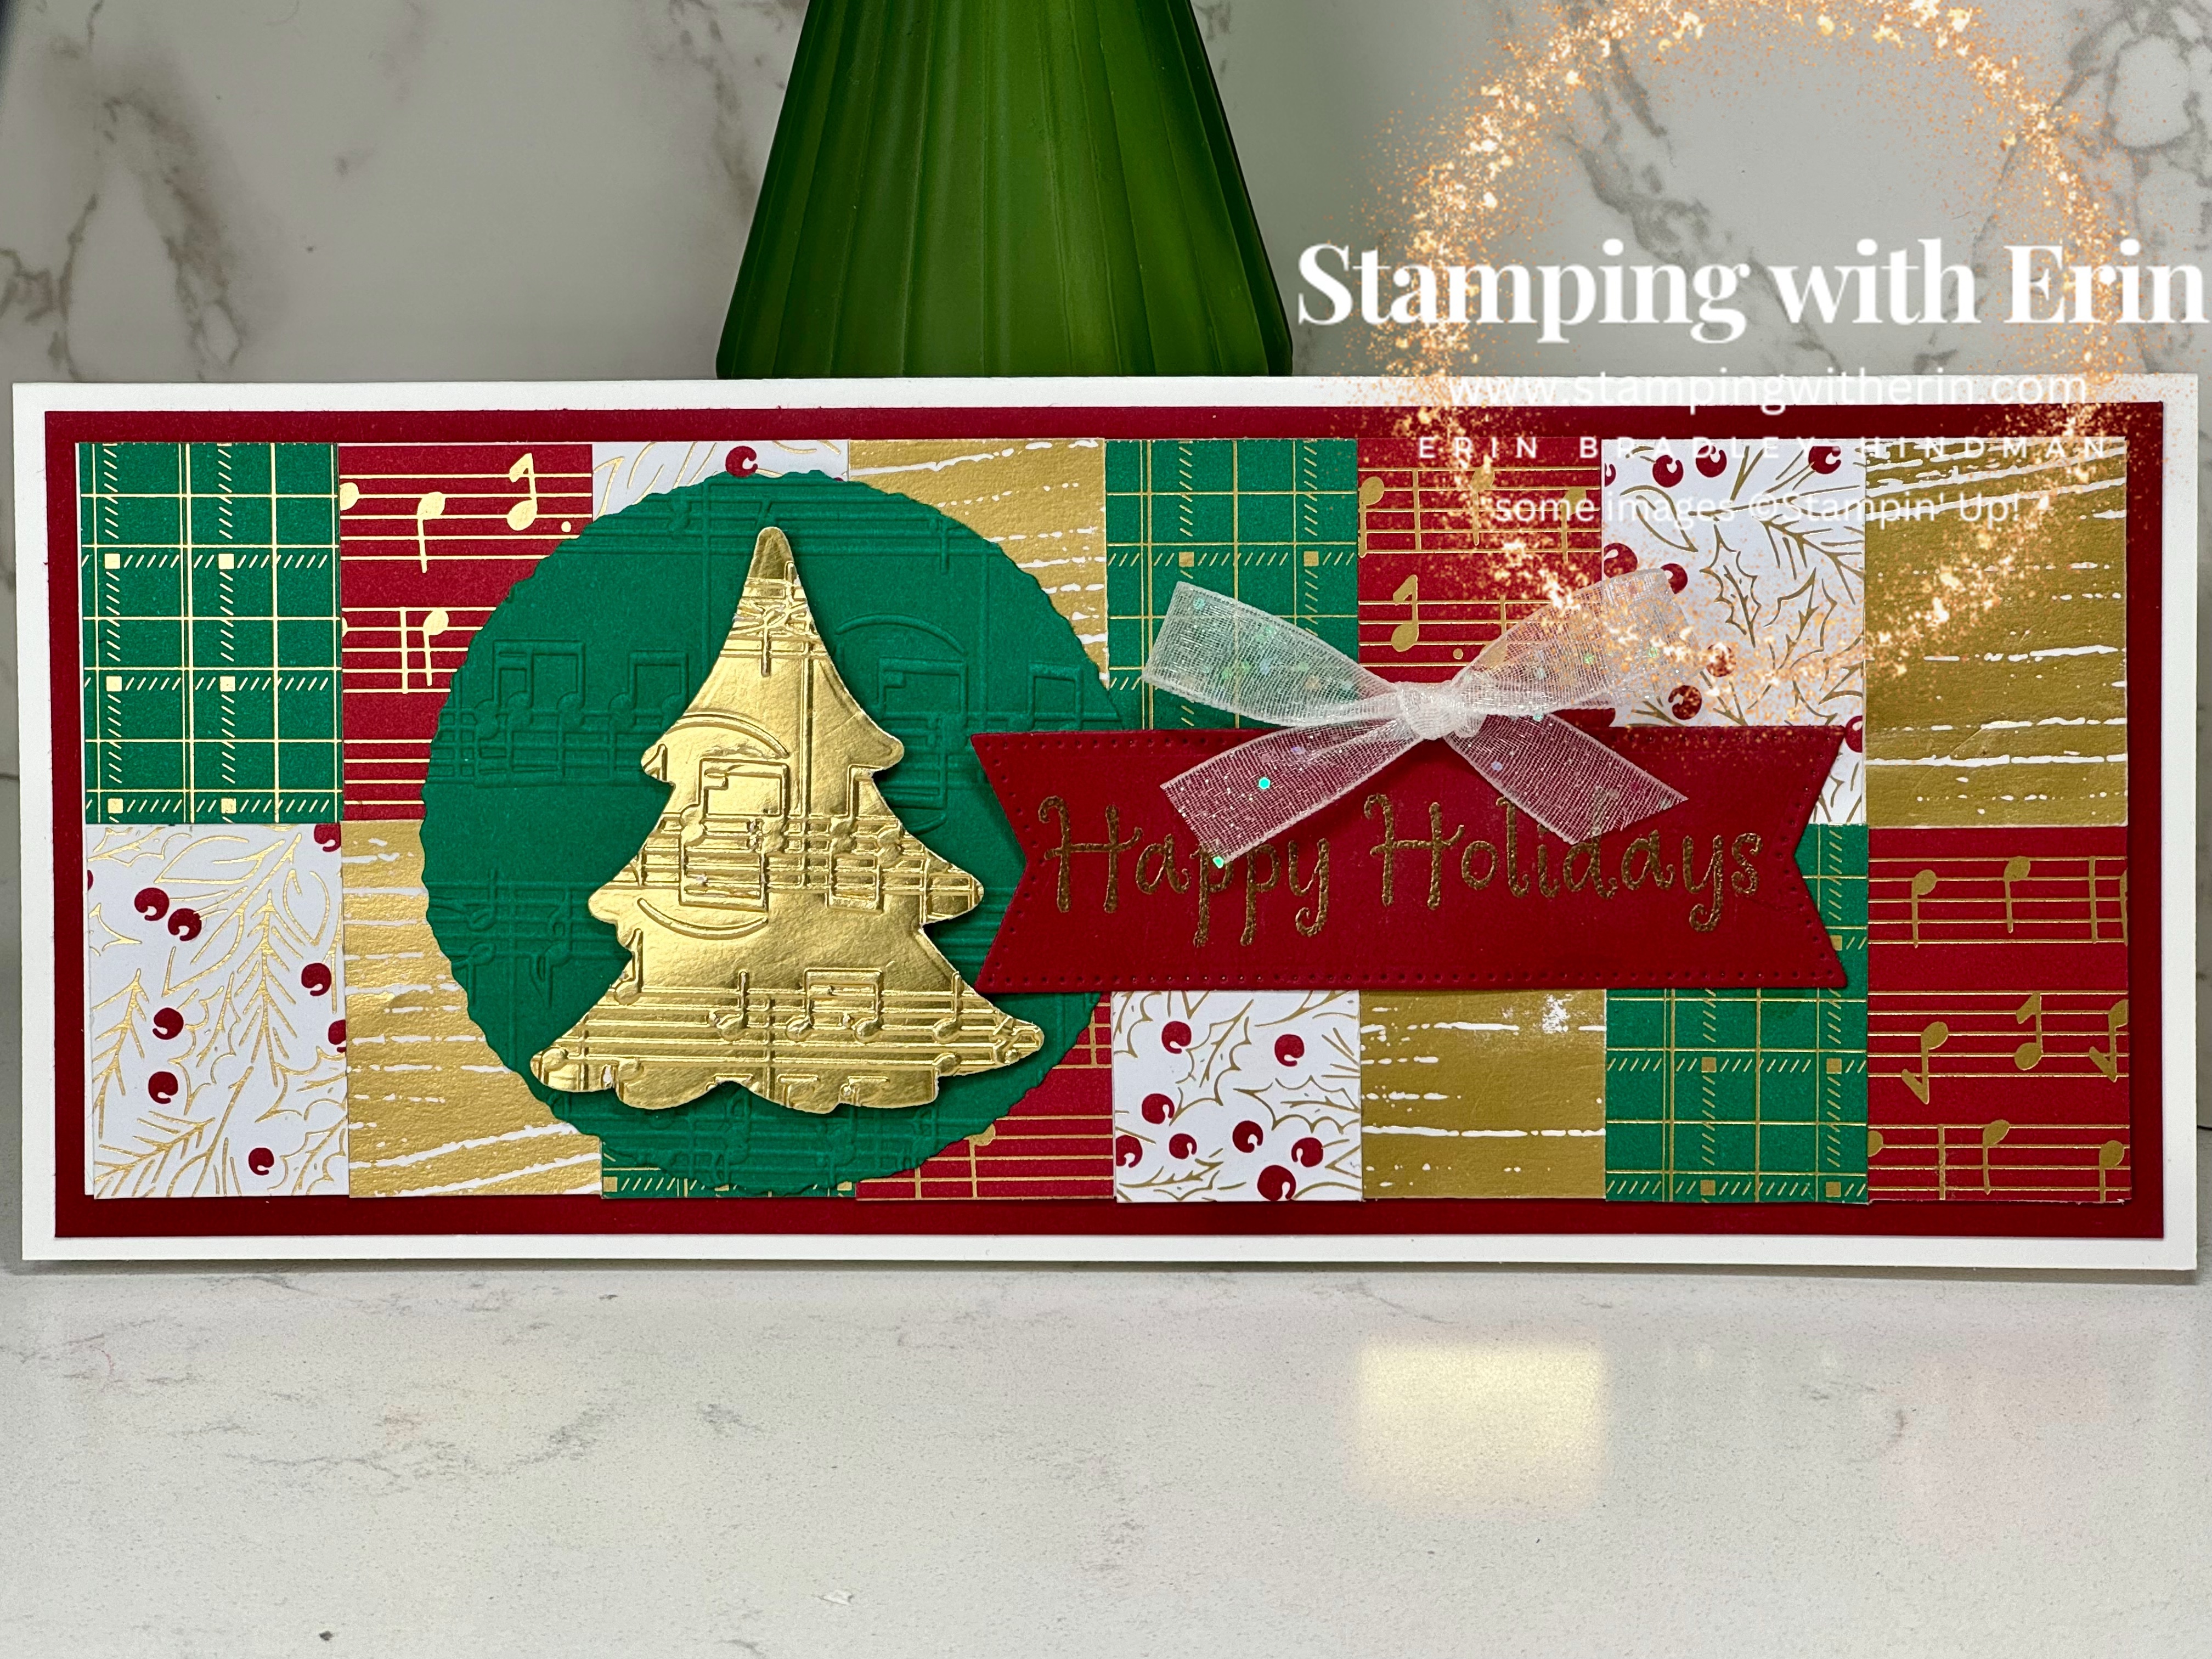
This card is a little different than most cards I make. I was looking at all the pretty paper from the mini that is retiring. The Joyful Specialty DSP is so dang pretty and I hadn’t used much of it. So, I decided I would use some of each sheet! (I checked today and it’s still available.)
For the tree, I die cut the smaller tree with the Gold Foil. I embossed with the Merry Melody Embossing Folder.
I die cut a Deckled Circle die with Shaded Spruce and embossed it with Merry Melody.
The sentiment is from the Throughout the Year stamp set. I stamped with Versamark on Cherry Cobbler, heat embossed with gold powder and then die cut with the Stylish Shapes.
I glued the pieces of the Joyful DSP on top of a Basic White. (See the measurements below.)
I stamped on the inside of the card with “to you and yours” from the Merriest Trees stamp set with Cherry Cobbler.
I tied a little bow and put it above the sentiment.
Measurements:
Basic White: 8-1/2″ x 7″ Scored at 3-1/2″
Cherry Cobbler: 8-1/4″ x 3-1/4″
Basic White: 8″ x 3″ (You won’t see this one- you glue the Joyful DSP on top)
Joyful DSP: 1-1/2″ x 1″ You’ll need 4 of each sheet- 16 total
Scraps of Shaded Spruce
Scraps of Cherry Cobbler
Don’t forget! I have a PDF Tutorial for 4 Merriest Trees cards I won’t share anywhere else! You can see it here!
All my PDF Tutorials can be seen here.
Product List
")
")


")

 Specialty Designer Series Paper")


 Iridescent Ribbon")


")

 Designer Series Paper")
 Specialty Pack")


")
 Foil Sheets")
 Specialty Paper")


 Designer Series Paper")
 Shimmer Paper")


")


 Specialty Paper")


")


 Designer Series Paper")


