


I came up with this idea as I was starting to pull the retiring stamps off my shelves. I thought it would be so cute and that young boys would love this card! So many retiring things on this card!
I stamped the astronaut (Reach for the Stars) and the guitar (Rock Star) on the Holographic DSP- the astronaut on the plainer silver and the guitar on the colored one. I used Versamark for both. I embossed the astronaut with black embossing powder and the guitar with silver embossing powder. Die cut. I cut the astronaut’s right hand away from his body a little bit so that the guitar would go under. It’s really hard to get a picture of the Holographic paper that looks like it does in person! Here’s one that looks a little better.
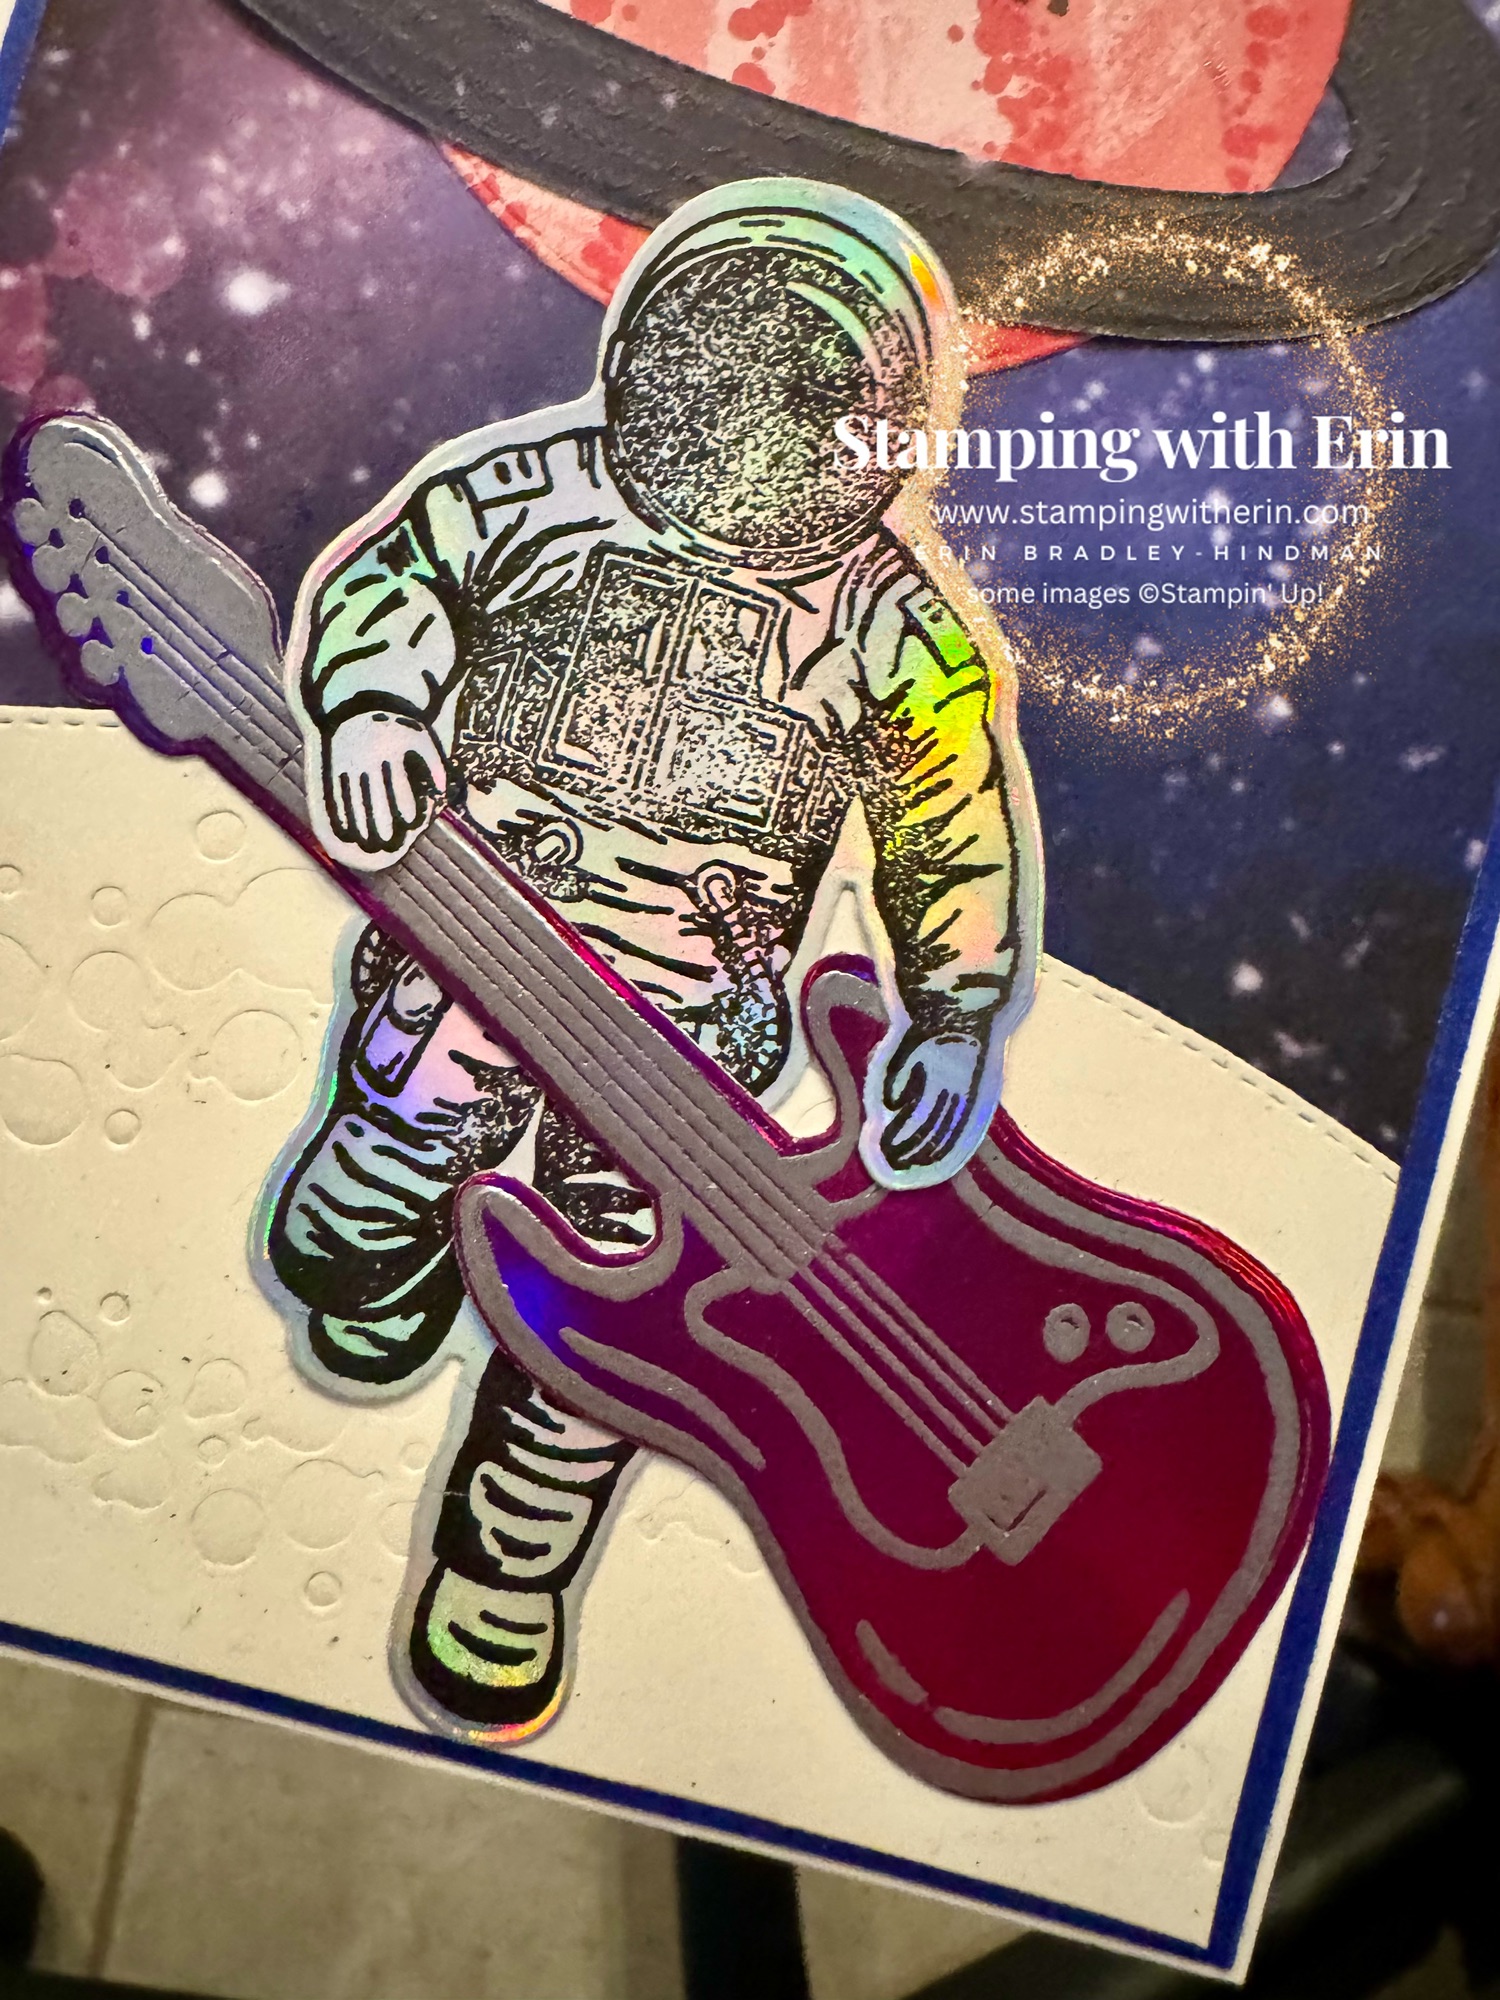
A die cut a piece of Very Vanilla with the Basic Borders dies- the one that is perfect for making hills, or in this case, a moon! I used the dies from Reach for the Stars to give the moon some craters.
I die cut the planet and the rings from the Stargazing DSP. The background paper is also Stargazing DSP.
The “happy birthday” is from the Enjoy the Rhythm stamp set. I stamped with Memento on the planet.
Measurements:
Very Vanilla 4-1/4″ x 11″ scored at 5-1/2″
Starry Sky 4-1/8″ x 5-3/8″
Stargazing DSP 4″ x 5-1/4″
Very Vanilla (for the moon) 4″ x 2-1/2″
Scraps of Holographic DSP for the astronaut and guitar
Scraps of Stargazing DSP for the planet and rings
I have a PDF Tutorial for Reach for the Stars. 4 cards I won’t share anywhere else! It includes pictures, all products used, measurements and step by step instructions. You can see it here. You can see all my PDF Tutorials here.
Product List
")
")
")

 Designer Series Paper")
 Specialty Paper")


")


")

")


")


")
")


")


