

I did this technique years ago and forgot all about it! It’s really easy!
You die cut whatever image you want right from the DSP card front. Then die cut it again twice with darker (if the card front is light) or lighter (if the card front is dark) cardstock. Use the same color cardstock that goes behind the card front.
Glue all three together, with the DSP in the front. Put Dimensionals all over the back.
Decorate the DSP card front however you want, then glue to the cardstock. Add your die cut and viola! Done!
Here’s a short video to show you how:
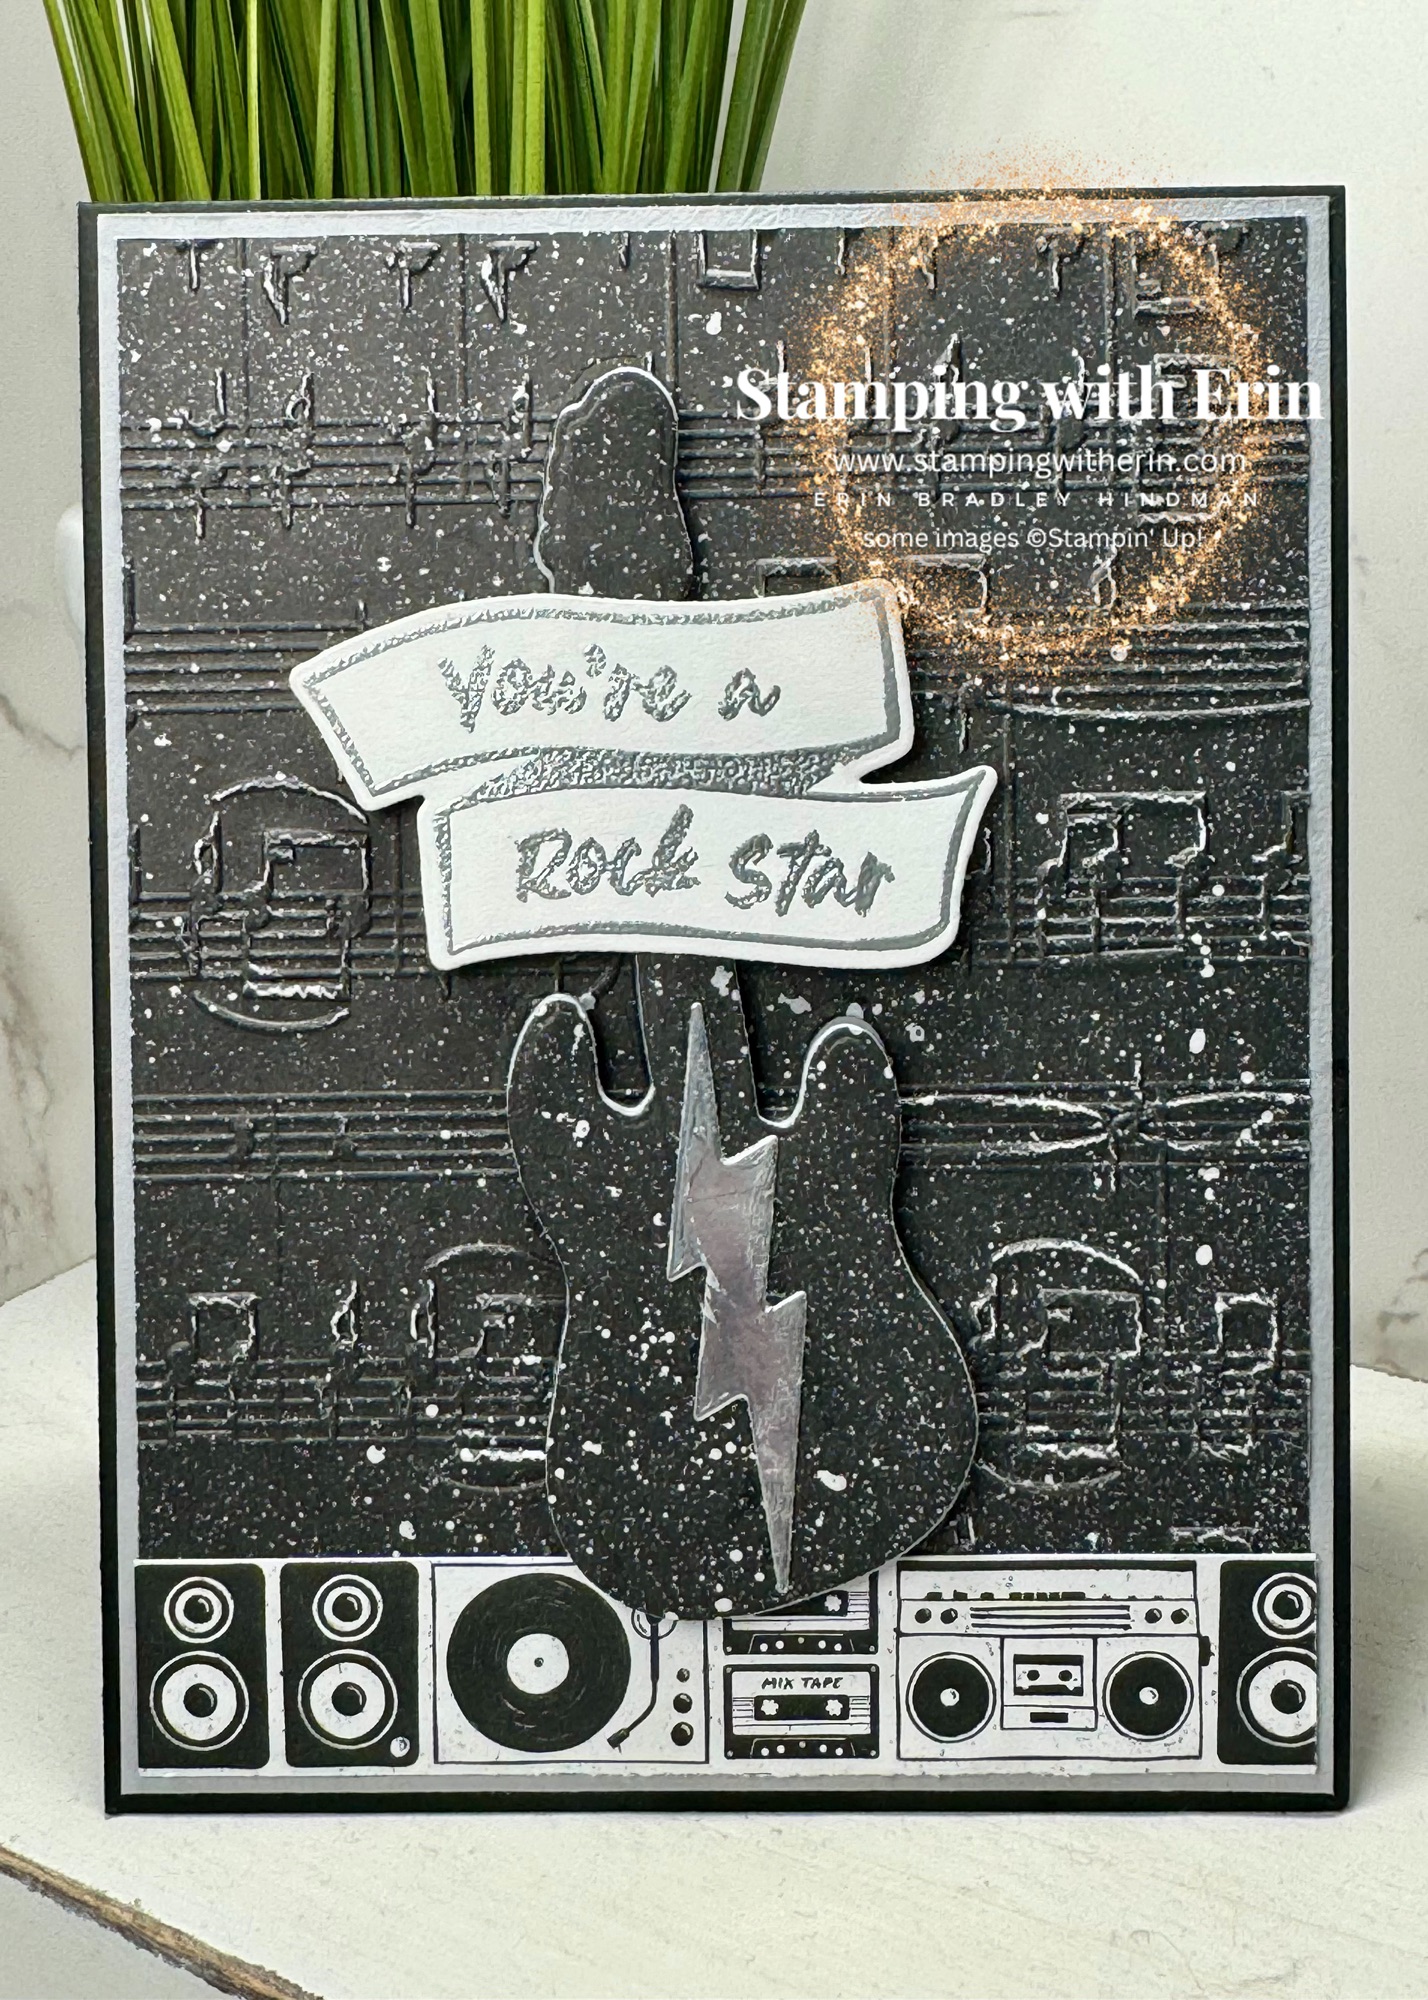
Measurements:
Basic Black 4-1/4″ x 11″ scored at 5-1/2″
Smoky Slate 4-1/8″ x 5-3/8″
Basic White 4-1/8″ x 5-3/8″ (for the inside of the card)
Rock & Roll DSP 4″ x 5-1/4″
Scraps of Basic White, Smoky Slate, Rock & Roll DSP
Product List
")
")


 Designer Series Paper")
 Specialty Paper")


")


Share this:

Discover more from Stamping with Erin
Subscribe to get the latest posts sent to your email.