

I saw this idea from Connie Stewart (Simply Simple Stamping), a big Demonstrator! I was so happy when I saw it. so I thought I would try. Thank you, Connie! That was a game changer!
Here’s my video:
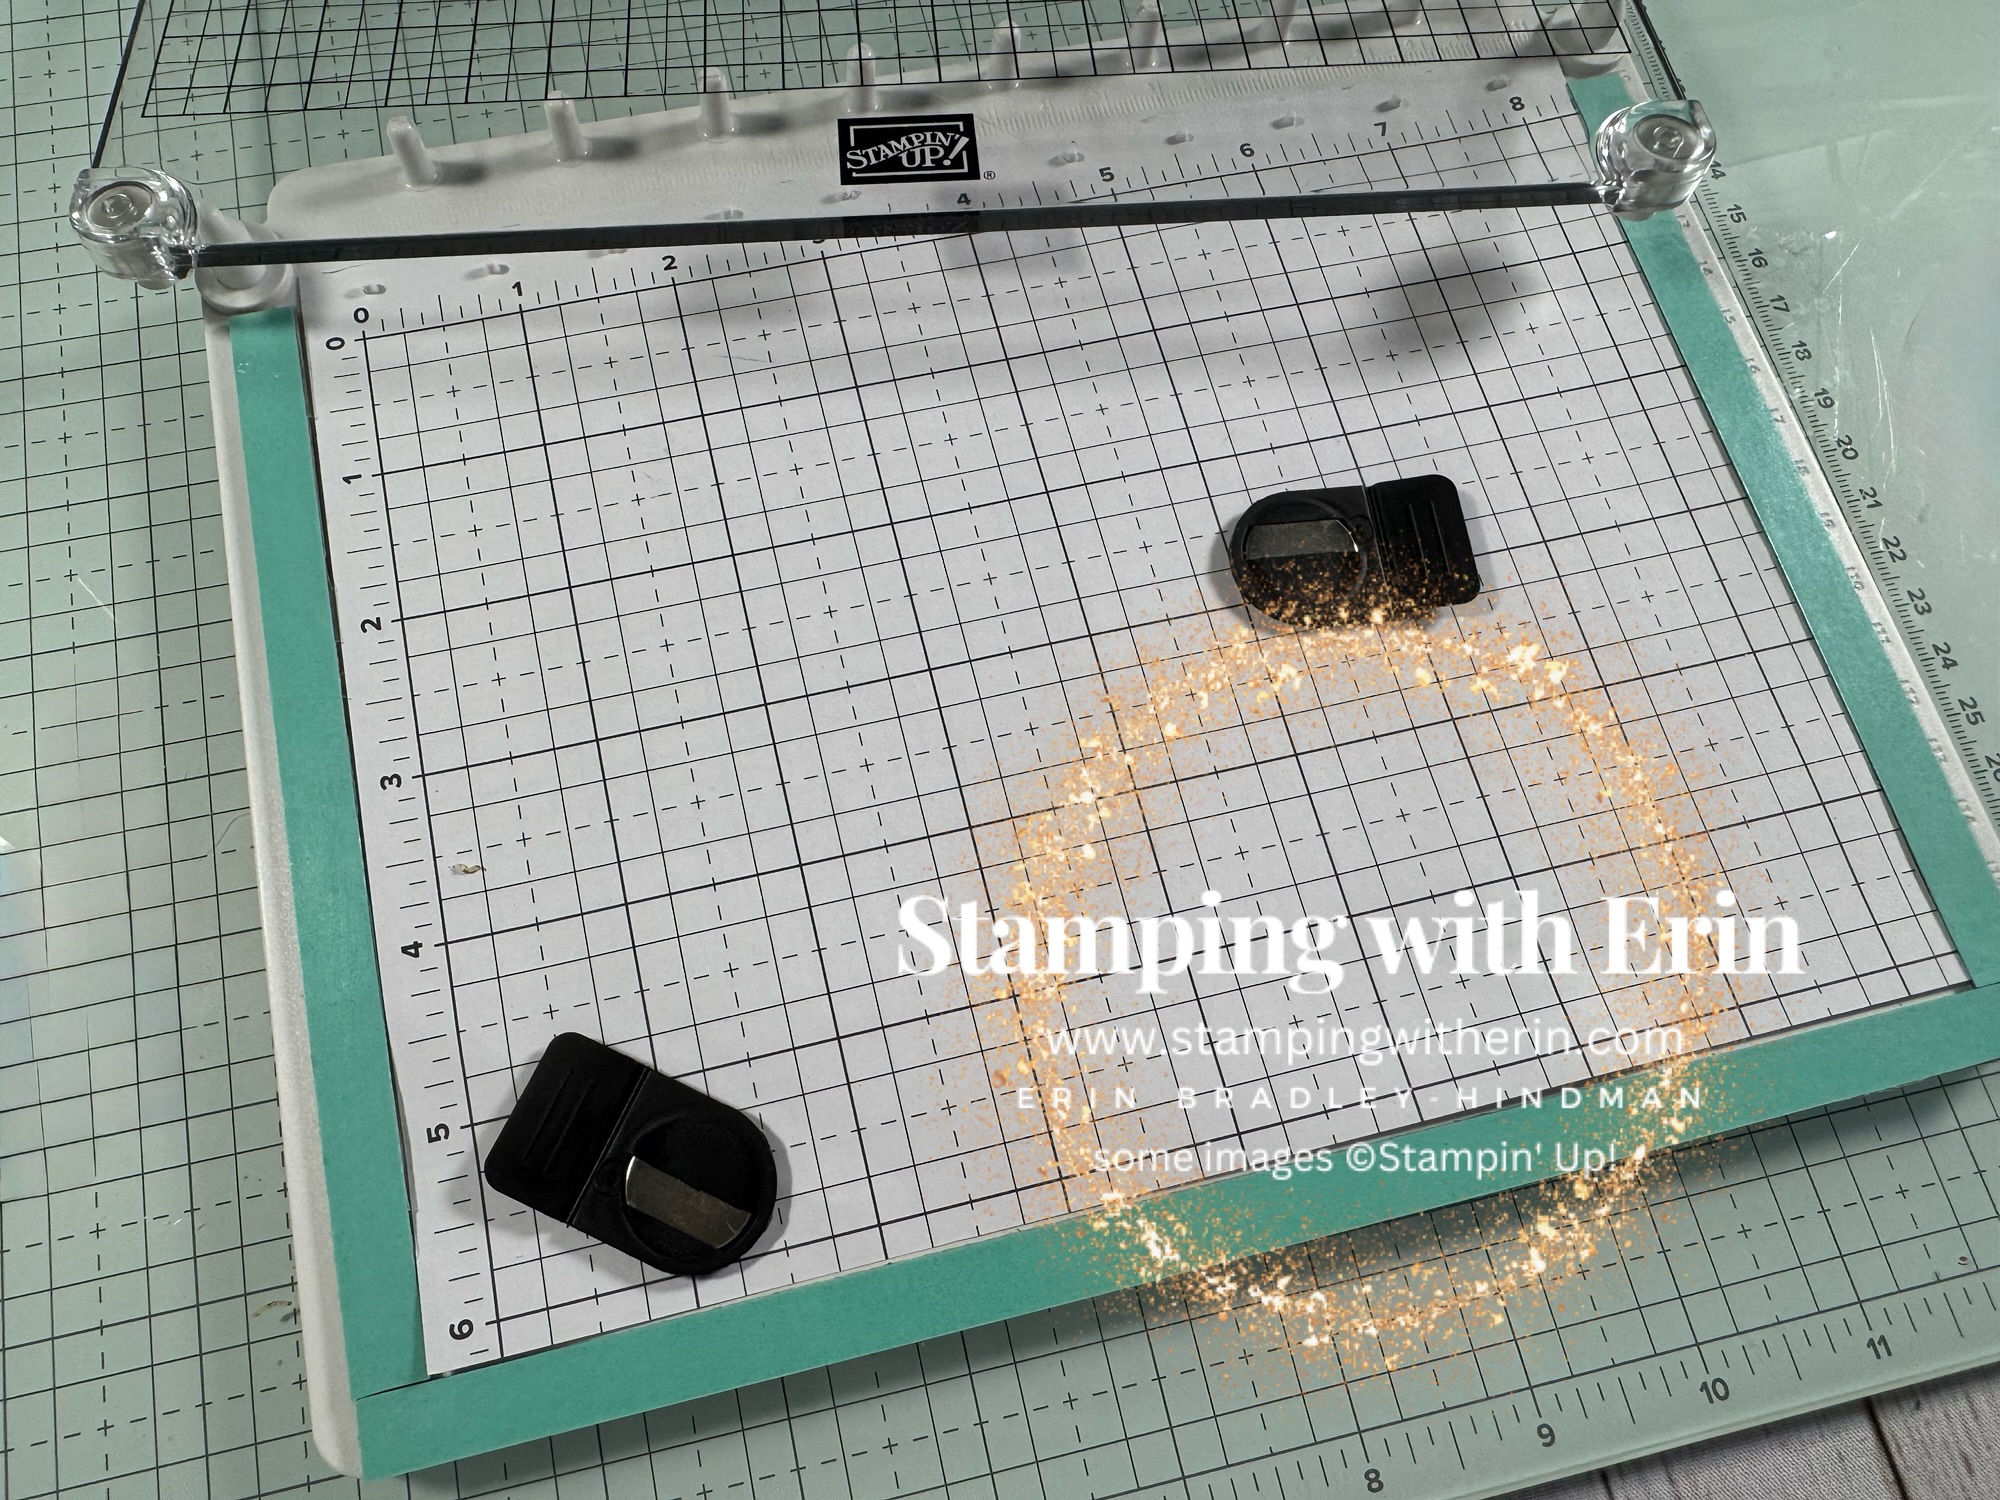
Measurements/ Instructions:
Chipboard:
- (1) 3/8″ x 9-1/2″
- (2) 3/8″ x 6-1/2″
Cardstock:
- (1) 1-3/4″ x 9-1/2″
- Cut (1) 3/8″ x 9-1/2″
- Cut (2) 3/8″ x 6-1/2″
Cover one side of the cardstock with packing tape.
Put Tear & Tape on both sides of the chipboard.
Glue cardstock on one side of the chipboard- with the packing tape side UP.
Take the tape off on the other side and glue the 3/8″ x 9-1/2″ to the bottom of the Stampin’ Positioner.
Glue the others (3/8″ X 6-1/2″) to the sides.
Try it out!
Share this:

Discover more from Stamping with Erin
Subscribe to get the latest posts sent to your email.